

This document pertains to HP and Compaq computers that came with Windows 10 installed.
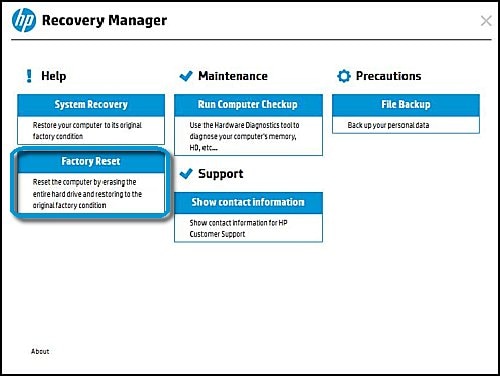
Learn how to reinstall or restore an HP computer with Windows 10 to an earlier state. Also, learn how to perform a system recovery using HP Recovery Manager.
CAUTION:
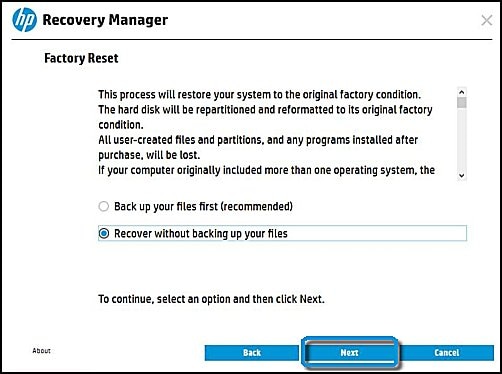
The new Recovery Manager for Fall Update 2015 must be downloaded and installed to successfully perform a system recovery using HP Recovery Manager.A minimum of 3 GB of free space is required to install the Recovery Manager update.
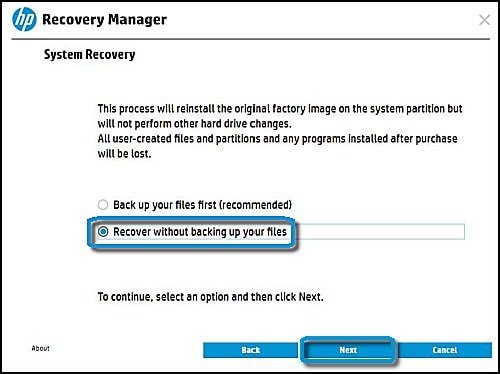
Back up all personal files and read all caution statements before performing a system recovery. Failure to backup your files will result in loss of files and information that you do not want to lose.
For instructions to backup and save your files, see Backing up your files (Windows 10, 8).
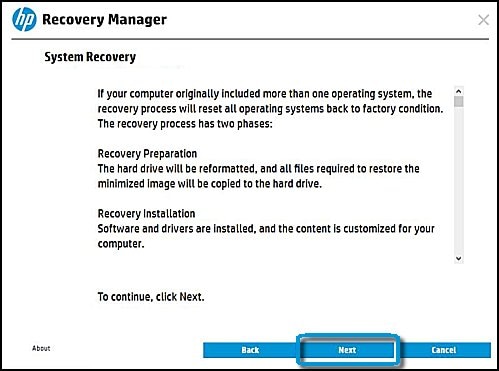
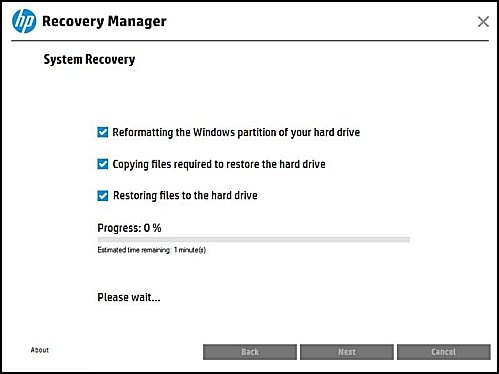
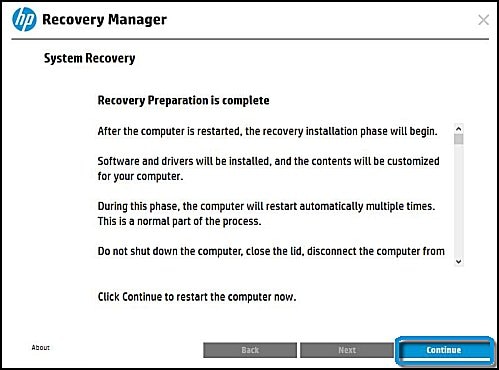
The complete recovery process can take 4 to 6 hours or more to complete. For best results, the computer should not be connected to the Internet. The computer will restart several times during the process. Do not turn off the power or interrupt the recovery process until the prompt to log in to Windows displays.


 -
-  -
- 


